How to Update Your WordPress Page Content
Keeping your WordPress website up to date is essential for maintaining relevance, improving SEO, and ensuring a great user experience. Whether you're making minor text changes or updating entire sections, WordPress provides a user-friendly interface to make these updates easy. Follow this step-by-step guide to update your page content efficiently.
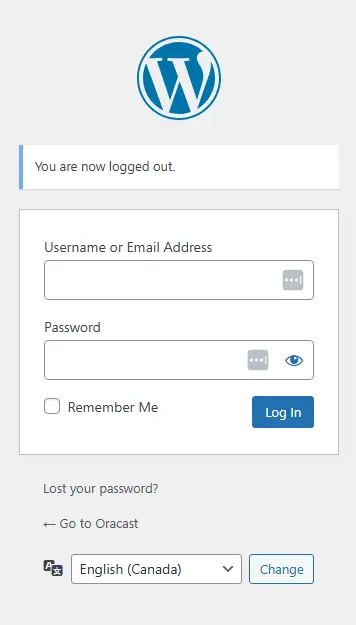
Step1: Log Into Your WorPress Dashboard
To begin, log into your WordPress website by navigating to yourwebsite.com/wp-admin and entering your username and password.
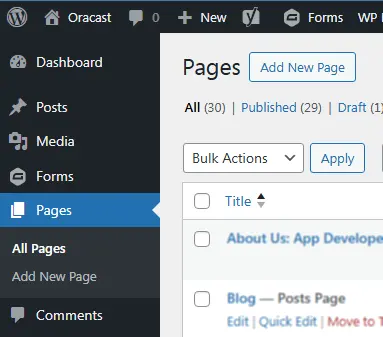
Step 2: Navigate to the Pages Section and Select the Page You Want to Edit
Once logged in, locate the Pages section in the left-hand menu. Click on it to view a list of all the pages on your website.
Find the page you want to update and click on its title or the Edit link that appears when you hover over it.
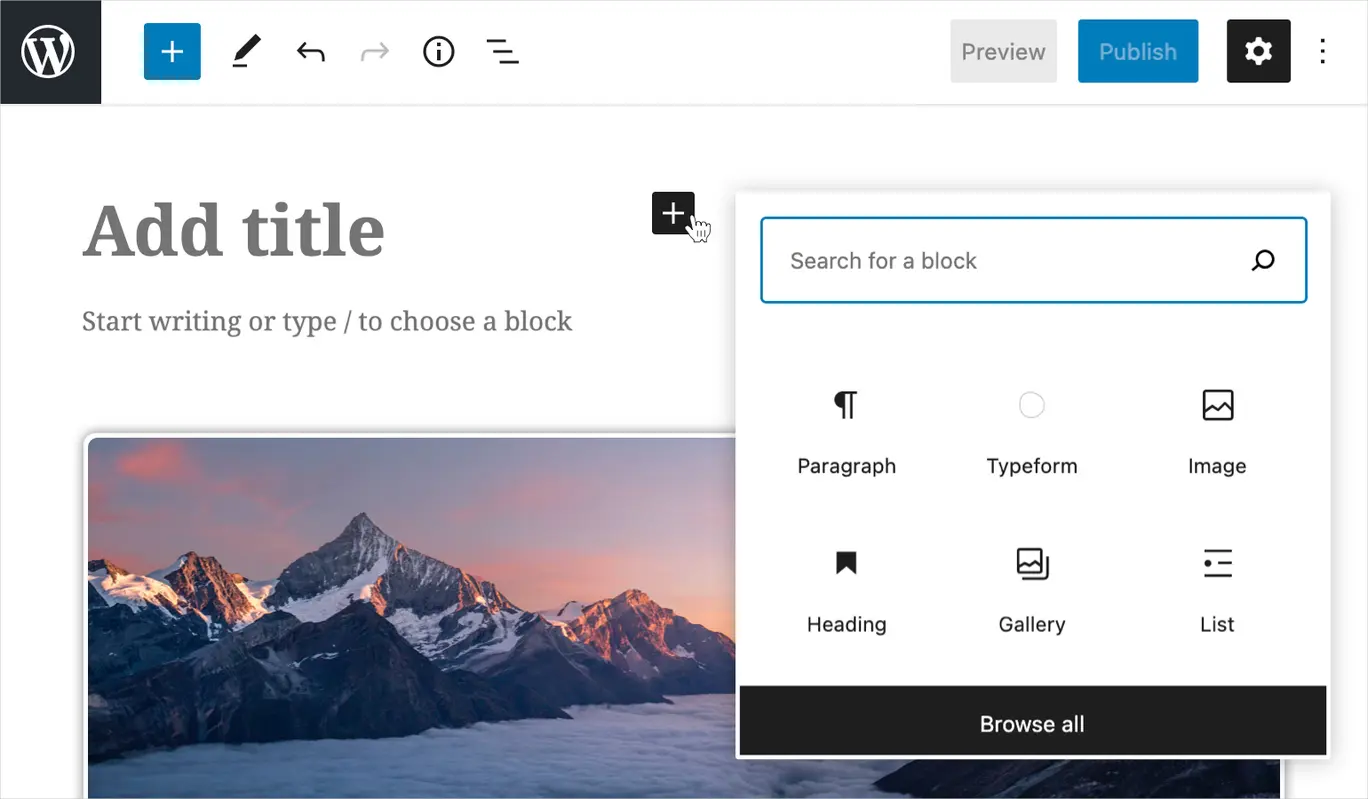
Step 3: Edit the Page Content
Depending on your setup, you will either be using the WordPress Block Editor (Gutenberg) or the Classic Editor:
- Gutenberg Editor: Click on a block to edit its content. You can add new blocks by clicking the + button and selecting the type of content you want to insert (text, images, videos, buttons, etc.).
- Classic Editor: A text editor will appear where you can edit content similar to a word processor.
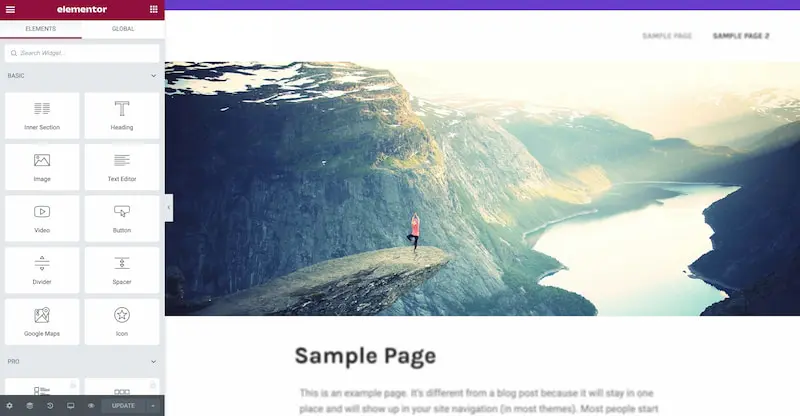
Step 3A: Update Content with Elementor
If your website uses Elementor, follow these steps to update content:
- Go to the Pages section in your WordPress dashboard.
- Locate the page you want to edit and click Edit with Elementor.
- Once the Elementor editor loads, click on any section you wish to edit. The editing options will appear on the left panel.
- Modify text, images, buttons, and other elements as needed.
- Click Update in the bottom left corner to save your changes.
- Preview the changes and make further edits if necessary.
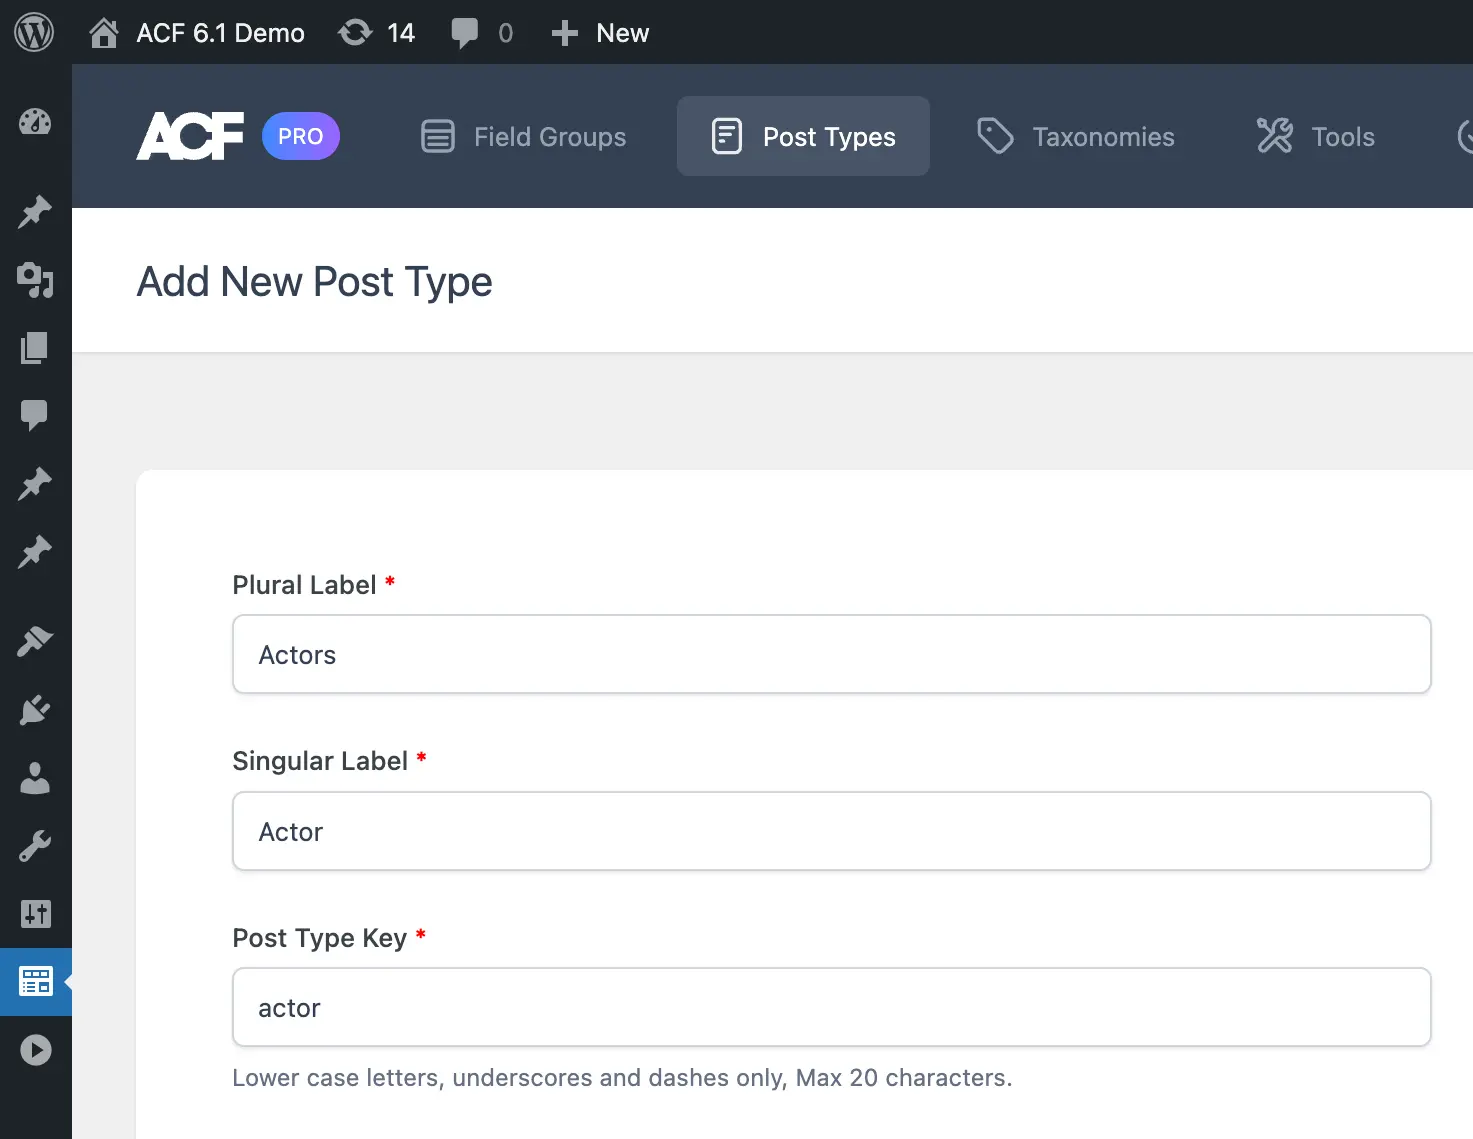
Step 3B: Update Content with ACF Fields
If your website uses Advanced Custom Fields (ACF), follow these steps to update content:
- Navigate to the Pages section in your WordPress dashboard.
- Select the page you want to edit.
- Scroll down to the Advanced Custom Fields (ACF) section.
- Locate the custom field you need to edit and update its content.
- Click Update to save changes.
- Check the live site to ensure updates have been applied correctly.
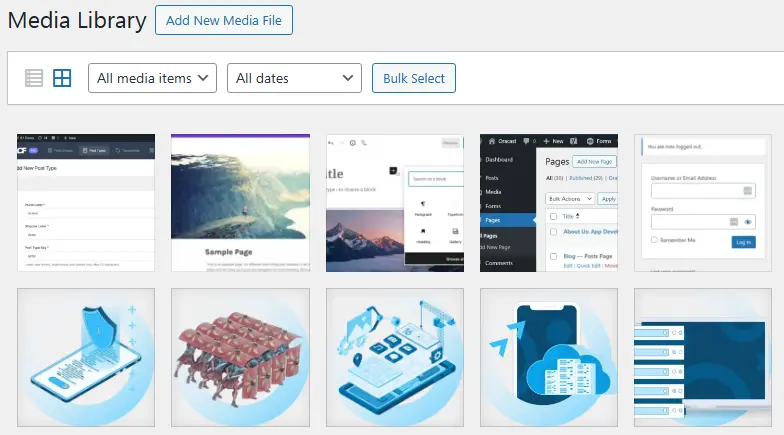
Step 4: Update Images and Media (Optional)
If you need to change images, click on the existing image and use the Replace button to upload a new one from your media library or computer.
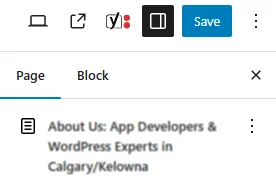
Step 4: Save and Preview Changes
Before publishing your updates, click the Preview button to see how the changes will look on your live site. If everything appears as expected, click the Update button to save your changes.

Step 5: Clear Cache (If Needed)
Sometimes, changes may not appear immediately due to cached versions of your site. If this happens, clear your browser cache or use a caching plugin (such as WP Super Cache or W3 Total Cache) to refresh the site.

Step 6: Verify the Live Changes
Visit your website and check the page to ensure all updates are correctly applied. If necessary, go back and make additional adjustments.
Conclusion
Updating your WordPress page content is a straightforward process that ensures your website remains fresh, engaging, and up to date. Regularly review your content to keep it aligned with your brand’s message and audience expectations.
